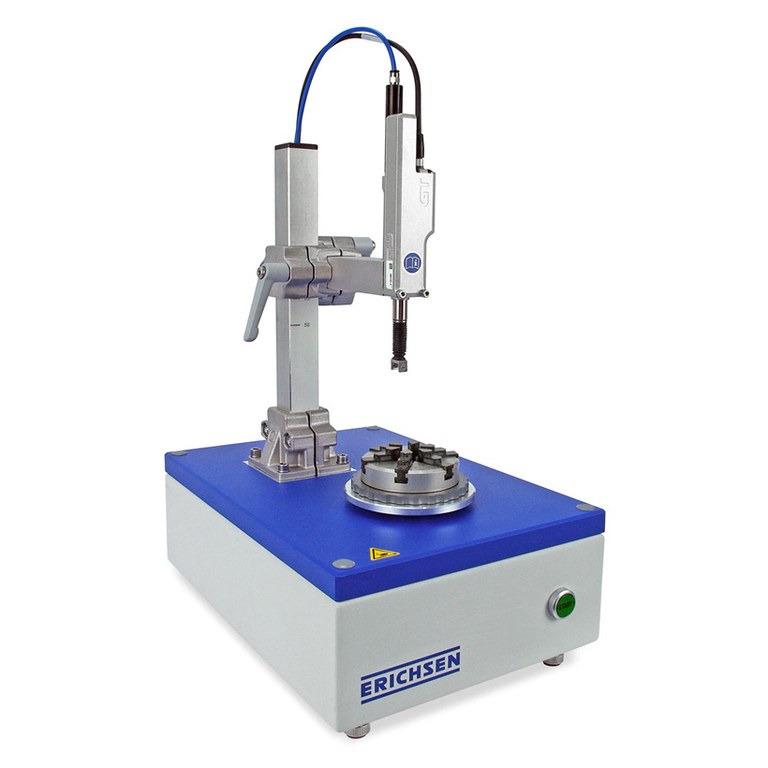


Ear Measuring Instrument Model 126 Plus
Order number: 21230131-
Non-Binding Inquiry
With the button below you can add products to your product inquiry list if you want us to do a quote for this product.
Note this product
Special Testing
Ear Measuring Instrument Model 126 Plus
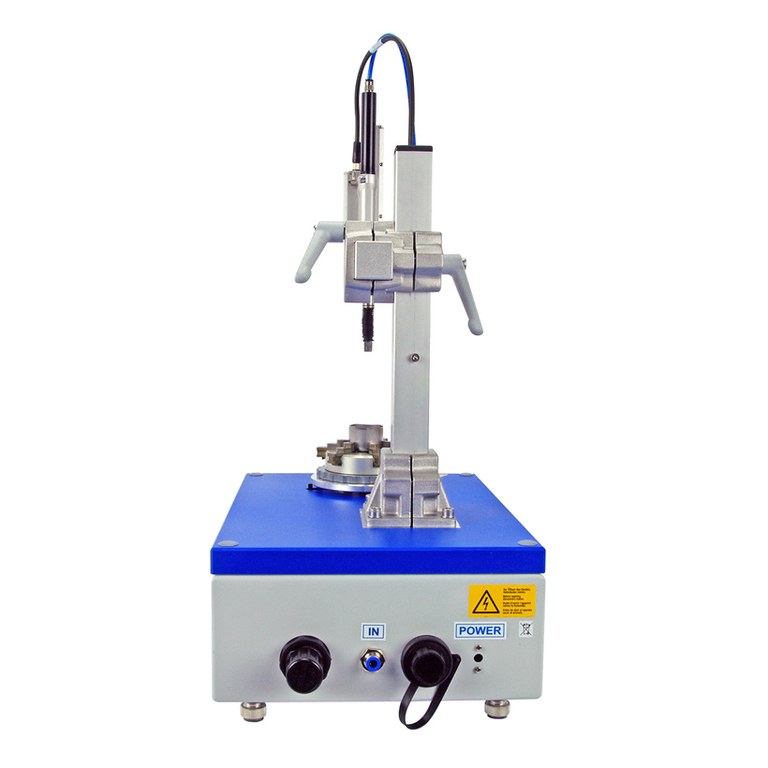
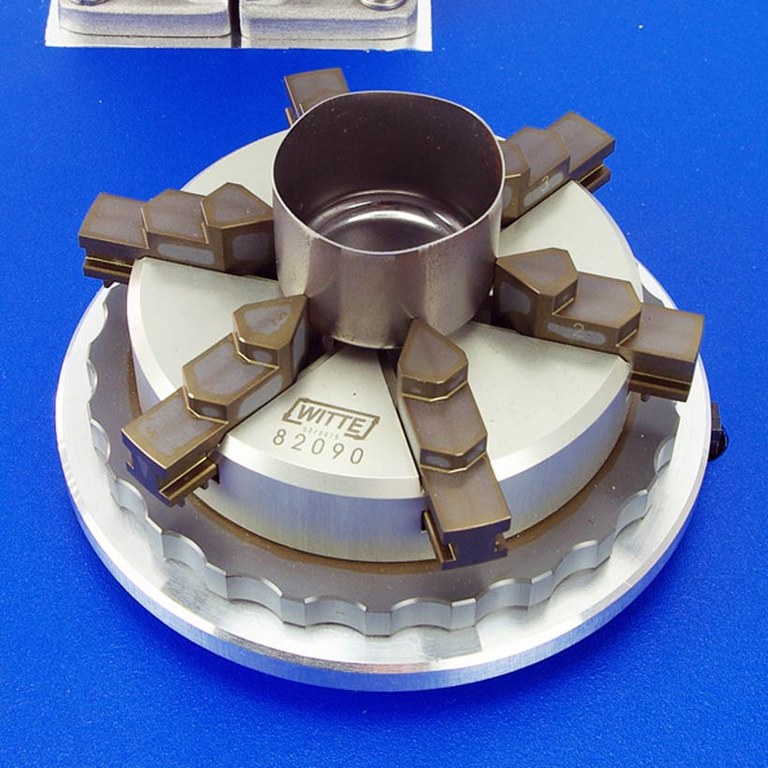
The Model 126 Plus ear measuring instrument consists of a turntable and a vertical gauge head with a roller. By a jaw chuck, the cup is centered and fixed. The gauge head can be positioned to different cups heights and diameters. While revolving around its own axis, the gauge head is measuring the shape of the cup’s edge. This waveform of the cup’s edge is called earring.
Purpose and Application: The Ear Measuring Instrument, Model 126 Plus, is designed for the axial measurement of deep-drawn cups and raw cans. Typical standards are DIN EN 1669 and ISO 11531.
Test principle: The operator starts the measurement process by PC or directly at the device. Pneumatically activated, the gauge head will move towards the cup. The turntable will rotate by 360°. After completion, the measurement head will move to idle position. This facilitates a rapid cup exchange.
All measurement results are displayed on a screen. Results can be archived as files. Sheet metal anisotropy and deep drawing parameters will result in different earring values. The detailed determination of parameters discloses tool wear and the quality of the deep-drawing material used.
Due to its flexible concept this instrument is also applicable for all similar tasks. Operation software is included. A PC is to be supplied by the customer.
Fully automated ear measurement possible - Model 126 Plus Auto

Fully automated ear measurement with the Model 126 Plus Auto enables the measurement of up to 1500 cups/day. The system combines proven measuring technology and software evaluation of the Model 126 Plus with new unique selling points such as camera-based rolling direction recognition.

With this system, the operator loads individual trays with up to 42 individual test cups. The changing magazine can hold up to 5 of these trays and can be loaded while the measuring operation is running. The control unit processes the measuring tasks independently and transmits the results to the user's database.
Have we aroused your interest? For further information, please send us an e-mail to info@erichsen.de or call us during our business hours at +49 (0) 2372 - 9683-0.
Technical Descriptions
Norms
- DIN EN 1669
Technical specifications
Drive
Electronic
Portable / Stationary
Stationary
Cup diameter
15-50 mm (other diameters on request)
Cup height
12-100 mm
Measurement values per revolution
>5000
Sensing device
M2,5 roller
Measurement force
approx. 2,5 N
Measurement stroke
50 mm
Sensor resolution
0,00005 mm
Sensor accuracy
±0,0001 mm
Display accuracy
0,02 mm
Indicated digits
0,01 mm
Time per measurement
approx. 15 s
Data connection
USB
Dimension
350 x 250 mm, Height max. 550 mm
Equipment
Order number: 21470132
- 309.00 €
- Non-Binding Inquiry
Price excl. VAT. We sell to professional buyers
With the button below you can add products to your product inquiry list if you want us to do a quote for this product.
Note this product
Order number: 387000841
- 2109.00 €
- Non-Binding Inquiry
Price excl. VAT. We sell to professional buyers
With the button below you can add products to your product inquiry list if you want us to do a quote for this product.
Note this product
Order number: 21910132
-
Non-Binding Inquiry
With the button below you can add products to your product inquiry list if you want us to do a quote for this product.
Note this product
Order number: 387001841
- 131.00 €
- Non-Binding Inquiry
Price excl. VAT. We sell to professional buyers
With the button below you can add products to your product inquiry list if you want us to do a quote for this product.
Note this product
Order number: 470224341
- 138.00 €
- Non-Binding Inquiry
Price excl. VAT. We sell to professional buyers
With the button below you can add products to your product inquiry list if you want us to do a quote for this product.
Note this product

